Product Classification
Stay informed about the latest industry trends, technological innovations, company milestones, and upcoming events from Magpow.
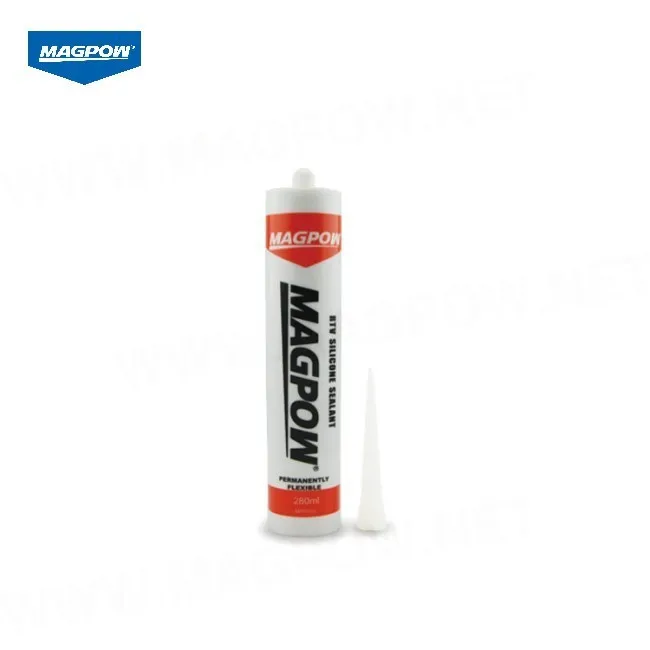
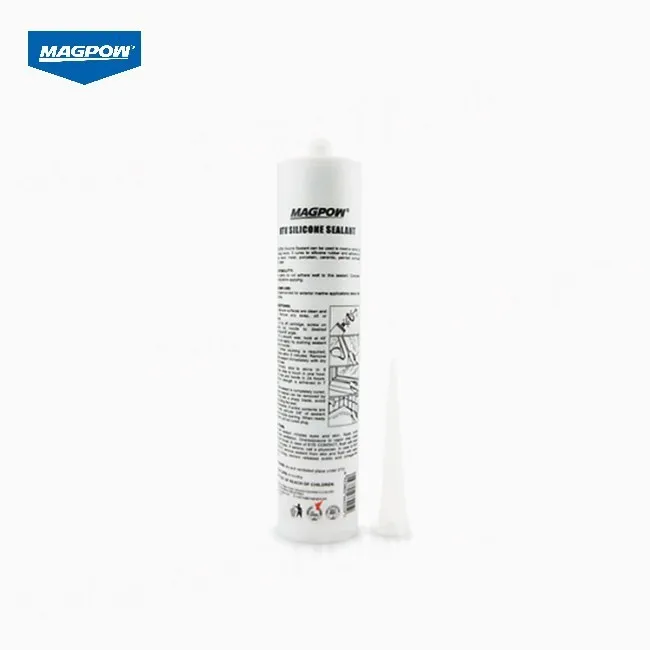
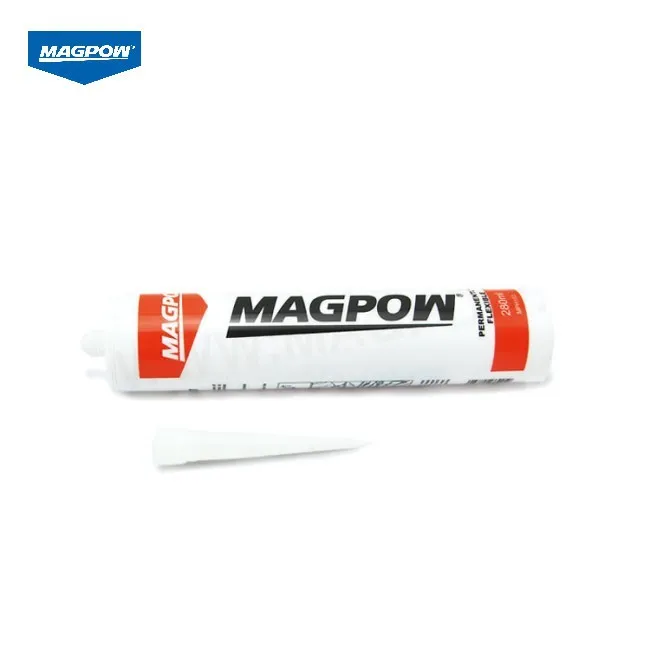
Best Quality Caulk for Showers
Magpow silicone sealant remains permanently flexible to accommodate movement and vibration without cracking.
DESCRIPTION
Specification: MPH103, 280ml/pc, 24pcs/ctn
Main Composition: α,ω-Dihydroxyl Methyl Silicone
Feature
Best Quality Caulk for Showers is an acid-cure silicone sulfur sealant suitable for use in all climate conditions. It reacts rapidly with moisture in the air, offering excellent aging resistance, high flexibility, and reliable performance in both high and low temperatures.
Technical Feature
| Item | Commodity | Appearance | Gravity g/cm³ | Prolapse Distance(mm) | Surface solidify time(min) | Extrude Property ml/min | Flexibility recover% | Peel Strength(Standard,MPa) | |
|---|---|---|---|---|---|---|---|---|---|
| Vertical | Aclinic | ||||||||
| High grade acid silicone sealant | Uniform delicate cream, without crust, gel, caking, no bubbles, no easily dispersed precipitates | 0.98~1.0 | ≤3 | No distortion | ≤30 | ≥80 | ≥150 | ≥0.50 | No damage |
| Common grade acid silicone sealant | ≥200 | ≥0.40 | |||||||
Scope of Application
Acetic Silicone Sealant is ideal for bonding a wide range of materials including glass, rubber, wood, ceramic, metal, and fiberglass surfaces.
Limitations:
- Not recommended for submerged or continuous water immersion applications.
- Not suitable for use on painted or coated surfaces.
- Application must be performed on clean, dry, and frost-free substrates.
Additional Note: For best results, ensure all surface preparation (such as cleaning and brushing) is completed before application.
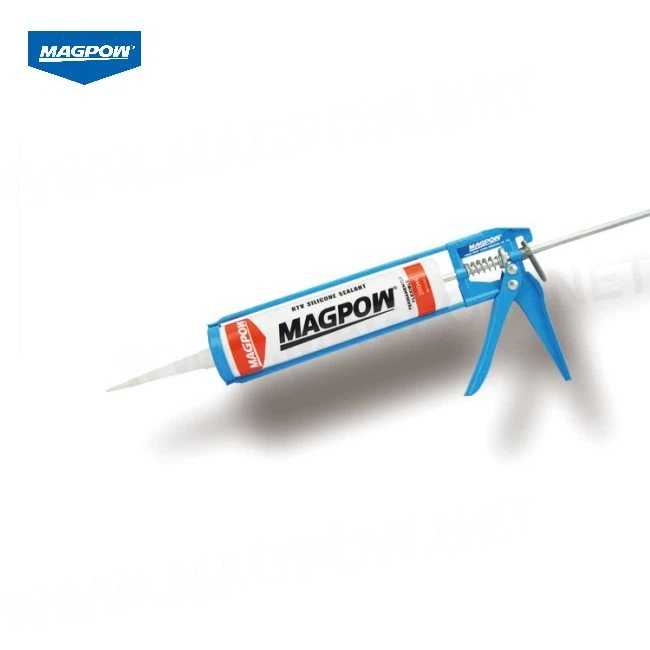
Using Method
Step 1: Preparation & Surface Cleaning
- Cut the nozzle of the cartridge at a 45-degree angle to the desired bead size.
- Pierce the inner seal using a long nail or wire.
- Clean all surfaces thoroughly. They must be free of dust, oil, grease, moisture, and old sealant. Use a cloth and a suitable cleaner (e.g., isopropyl alcohol) for best results. Surfaces must be completely dry.
Step 2: Load the Cartridge
- Insert the cartridge firmly into a standard caulking gun.
Step 3: Application
- Hold the gun at a consistent 45-degree angle.
- Apply the sealant in a slow, continuous, and smooth bead, slightly overfilling the joint.
- Ensure the bead is uniform and covers the entire joint.
Step 4: Tooling & Finishing
- Immediately after applying, tool the bead (smooth it) using a smoothing tool, a plastic spoon, or a finger dipped in soapy water. This compacts the sealant and ensures good contact with both surfaces.
- Wipe away any excess sealant immediately with a cloth.
Warning
- 1 Ventilation Requirement
This product is not recommended for use in airtight environments. Ensure the area is well-ventilated during application and curing, as acetic acid vapor is released during the chemical reaction. - 2 Surface Preparation
Surfaces must be clean and dry before application. If more than one hour passes after initial cleaning, or if the surface becomes contaminated again by rain, dust, or dirt, it must be cleaned again prior to application. - 3 Safety Precautions
The product is non-toxic once cured. However, avoid contact with eyes, nose, or skin during application. In case of contact, rinse immediately with plenty of water and seek medical attention if necessary. - 4 Application Instructions
Apply the sealant in one smooth, continuous motion to ensure a uniform bead without gaps or air pockets. Incorporation of air during application may compromise adhesion and sealing performance. - 5 Storage After Use
After use, promptly replace the cap tightly and remove the nozzle to prevent moisture ingress, which may cause curing inside the container. Wipe away any residual sealant from the bottle tip and threads before sealing. - 6 Reuse and Storage
If reusing a partially used container, remove any cured sealant from the opening before application. The remaining uncured material inside remains usable. For optimal shelf life, store the container in a cool, dry place, tightly sealed and protected from sunlight.